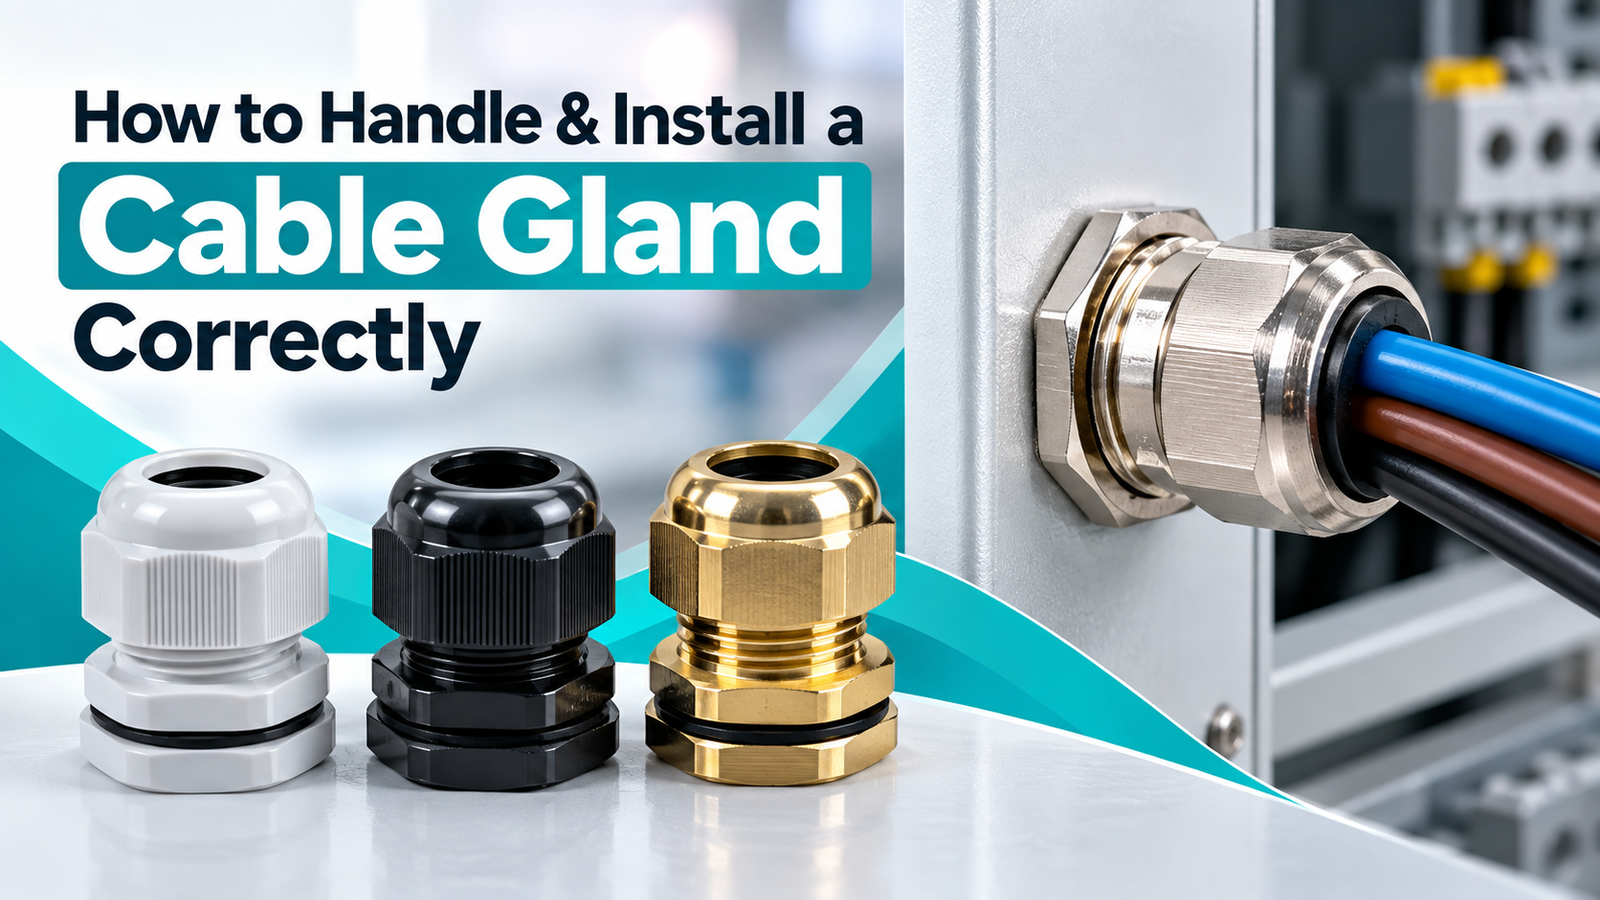
How to Handle and Install a Cable Gland Correctly
Cable glands are important components used to secure and protect electrical cables where they enter electrical enclosures, junction boxes, control panels, lighting fixtures, and other equipment. A properly installed cable gland helps provide mechanical support, protects the cable entry point, and can help maintain the required level of environmental protection.
Whether you are working with a PG cable gland, brass cable gland, or PVC cable gland, correct handling and installation are important for a reliable electrical installation.
What Is a Cable Gland?
A cable gland is a mechanical cable-entry device used to secure a cable where it passes through an enclosure or equipment.
Depending on the design and application, a cable gland can provide:
- Cable retention
- Strain relief
- Protection at the cable entry point
- Sealing against dust and moisture
- A secure connection between the cable and enclosure
Cable glands are available in different sizes and materials to suit different cable diameters and installation requirements.
Why Proper Cable Gland Handling Matters
A cable gland may look like a simple component, but incorrect handling can affect the quality of the installation.
Over-tightening, using the wrong size, damaging the sealing component, or forcing a cable through an unsuitable gland can reduce its effectiveness.
Proper handling helps ensure that the cable gland, cable, and enclosure work together as intended.
1. Select the Correct Cable Gland
Before installation, identify the cable diameter and select a cable gland that is suitable for the cable.
For example, PG cable glands are available in different sizes such as PG7, PG9, PG11 and other sizes.
Do not select a gland based only on the thread size. Check the manufacturer's specified cable diameter range as well.
The cable should fit properly within the gland's specified range.
2. Check the Cable Gland Before Installation
Inspect the cable gland before using it.
Check the body, thread, nut, sealing ring, washer, and other components for visible damage.
Do not use components that are cracked, badly deformed, damaged, or missing important parts.
Also check that the gland size and thread type match the enclosure or mounting hole.
3. Prepare the Cable Entry Point
Make sure the enclosure has the correct mounting hole for the selected cable gland.
The entry hole should be clean and free from sharp edges, metal burrs, dust, or debris.
Sharp edges around a cable-entry hole can potentially damage the cable or sealing components during installation.
4. Insert the Cable Carefully
Pass the cable through the cable gland without forcing it.
Avoid pulling, twisting, or sharply bending the cable unnecessarily.
If the cable diameter is outside the gland's specified range, choose a suitable gland instead of trying to force the cable through.
The correct fit is important for both cable retention and sealing.
5. Position the Sealing Components Correctly
Cable glands commonly include sealing components designed to grip or seal around the cable.
Make sure the sealing ring or other sealing component is correctly positioned according to the manufacturer's assembly instructions.
Do not remove or modify sealing components unless the product instructions specifically require it.
6. Tighten the Cable Gland
Once the cable is positioned correctly, tighten the gland components as specified by the manufacturer.
The gland should provide a secure grip on the cable without unnecessarily crushing or damaging it.
Avoid excessive force. Over-tightening can damage the gland, seal, cable sheath, or enclosure.
For products with specified torque values, use the manufacturer's recommended torque.
7. Check the Cable Grip
After tightening, gently check whether the cable is securely held.
The cable should not move excessively within the gland.
However, avoid pulling the cable aggressively during this check.
A correctly selected and installed gland should provide appropriate mechanical retention for the intended application.
8. Check the Seal
Inspect the area around the cable entry point.
The sealing component should be correctly seated and compressed according to the gland manufacturer's instructions.
If the installation requires a specific IP rating, make sure the complete cable-entry assembly, including the gland, enclosure, cable diameter, and installation method, is suitable for that rating.
9. Check the Thread and Enclosure Connection
Make sure the gland is correctly engaged with the enclosure thread or mounting arrangement.
Do not cross-thread the gland.
If the gland does not fit the mounting hole correctly, stop the installation and verify the thread type and dimensions.
Forcing an incorrectly matched gland can damage both the gland and the enclosure.
10. Perform a Final Inspection
Before putting the equipment into service, inspect the complete installation.
Check that:
- The correct gland size has been selected.
- The cable is within the specified cable diameter range.
- The gland is correctly mounted.
- The sealing components are properly positioned.
- The gland is tightened according to the manufacturer's instructions.
- The cable is securely retained.
- There is no visible damage to the cable.
- There are no sharp edges contacting the cable.
- The required environmental protection is maintained.
Common Cable Gland Handling Mistakes
Using the Wrong Size
One of the most common mistakes is selecting a cable gland without checking the cable diameter.
Always compare the actual cable diameter with the manufacturer's specified range.
Over-Tightening
Excessive tightening does not necessarily make an installation safer.
It can damage the cable sheath, sealing components, or gland.
Forcing the Cable
Never force a cable through an unsuitable gland.
Select a gland designed for the actual cable diameter.
Damaging the Seal
Avoid cutting, stretching, or incorrectly positioning the sealing ring.
A damaged seal can affect the cable entry protection.
Cross-Threading
Always start the gland thread carefully and make sure the components are aligned correctly before tightening.
Ignoring the Cable Entry Hole
The enclosure opening should be properly prepared and free from sharp edges and burrs.
Safety Tips When Working With Cable Glands
Before working on electrical equipment, isolate the relevant electrical supply and follow applicable electrical safety procedures.
Use appropriate personal protective equipment and suitable tools for the installation.
For electrical installations where regulations, standards, or specialized knowledge apply, installation should be carried out or checked by a qualified electrician or competent professional.
Never use a cable gland as a substitute for proper electrical protection, grounding, or other safety requirements.
Where Are Cable Glands Used?
Cable glands are commonly used in many electrical and industrial applications, including:
- Electrical control panels
- Junction boxes
- LED lighting equipment
- Outdoor lighting
- Industrial machinery
- Distribution equipment
- Automation systems
- Electrical enclosures
- Commercial electrical installations
- Industrial equipment
The correct gland type depends on the cable, enclosure, environment, and installation requirements.
Final Checklist
Before completing a cable gland installation, check:
☐ Correct cable gland size selected ☐ Cable diameter checked ☐ Correct thread and mounting hole confirmed ☐ Cable entry hole cleaned and deburred ☐ Sealing components correctly positioned ☐ Cable inserted without forcing ☐ Gland tightened according to manufacturer instructions ☐ Cable securely retained ☐ No visible cable or gland damage ☐ Final installation inspected
Conclusion
Handling and installing a cable gland correctly is important for creating a secure and reliable cable-entry connection. Choosing the correct size, preparing the enclosure properly, positioning the sealing components correctly, and tightening the gland appropriately can help prevent common installation problems.
Whether you are using a PG7, PG9, PG11, brass cable gland, or PVC cable gland, always select the product according to the cable diameter and application requirements and follow the manufacturer's installation instructions.