How to Install Lights Using a Suspension Wire Kit Safely
Suspension wire kits are widely used to hang LED lights, pendant lights, panel lights, linear lights, decorative fixtures, and other ceiling-mounted lighting systems. They provide a clean, adjustable, and professional way to suspend a light from the ceiling while allowing the fixture height to be adjusted according to the installation requirement.
However, a suspension wire installation should be done carefully. The ceiling fixing, suspension wire, grippers, hooks, and other components must be properly secured, and the electrical connection should always be installed separately and safely.
In this guide, we explain how to install a light using a suspension wire kit and the important safety checks to follow during installation.
What Is a Light Suspension Wire Kit?
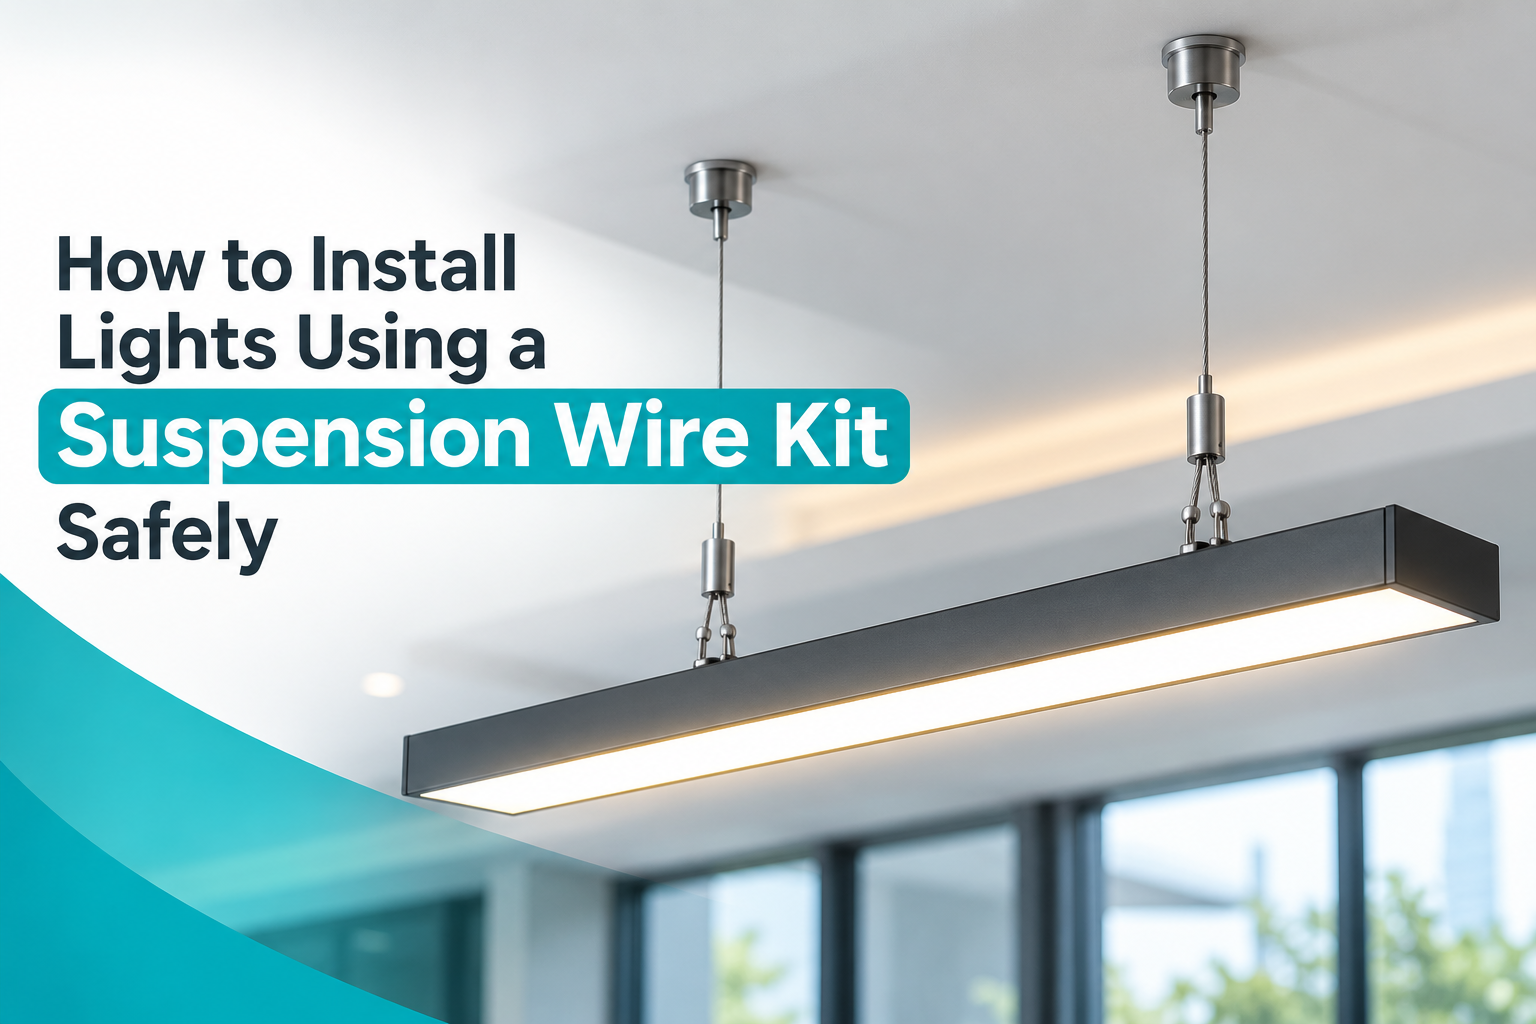
A light suspension wire kit is a set of components used to suspend a lighting fixture from a ceiling or other suitable support structure.
A typical kit may include suspension wire, wire grippers, hooks, ceiling fixing components, and other accessories depending on the application.
Suspension wire kits are commonly used for:
- LED panel lights
- Linear LED lights
- Pendant lights
- Commercial lighting
- Decorative lighting
- Office lighting
- Retail lighting
- Restaurant and hospitality lighting
- Exhibition and display lighting
- Industrial lighting fixtures
The main advantage of a suspension system is that it allows the height of the light to be adjusted while providing a neat and professional appearance.
What You Need Before Installation
Before starting the installation, make sure you have the correct suspension kit and the necessary tools.
Depending on the fixture and ceiling type, you may need:
- Suitable suspension wire kit
- Wire grippers
- Ceiling hooks or suitable anchors
- Screws and fixing hardware
- Drill and appropriate drill bit
- Screwdriver
- Measuring tape
- Spirit level
- Ladder or suitable access equipment
- Appropriate electrical connection accessories
Most importantly, check the weight of the lighting fixture and make sure the suspension system and ceiling fixing arrangement are suitable for that load.
Step-by-Step: How to Install a Light Using Suspension Wire
1. Check the Light and Suspension Kit
Before installation, inspect the light fixture and suspension kit for any visible damage.
Check the fixture's weight and the manufacturer's recommendations. Make sure the suspension wires, grippers, hooks, and ceiling fixing points are appropriate for the application.
Do not use damaged, bent, frayed, or corroded suspension components.
2. Mark the Ceiling Fixing Points
Place the light where you want it to be installed and determine the suspension points.
For a rectangular or linear light, the suspension points should generally be positioned so that the fixture remains balanced.
Mark the ceiling fixing locations carefully and measure the distance between the points before drilling.
3. Install Suitable Ceiling Fixings
Select fixing hardware appropriate for the ceiling material and the expected load.
Drill the required holes and install the appropriate anchors, hooks, or fixing hardware according to the manufacturer's instructions.
The ceiling fixing is one of the most important parts of the installation because the suspension wire system can only be as secure as the structure to which it is attached.
Do not rely on unsuitable anchors or weak ceiling surfaces for supporting a lighting fixture.
4. Attach the Suspension Wires
Connect the suspension wires to the designated fixing points on the light fixture.
Make sure each wire is properly secured and seated correctly in its connector or attachment point.
For fixtures requiring multiple suspension points, ensure that the wires are positioned evenly so that the fixture does not tilt.
5. Connect the Wire Grippers
Insert the suspension wire through the appropriate wire gripper.
Wire grippers allow the height of the fixture to be adjusted by controlling the position of the wire.
Make sure the wire passes correctly through the gripper and that the locking mechanism is properly engaged.
Never assume that simply passing the wire through a gripper is enough. Check that the wire is securely held before releasing the fixture.
6. Attach the Wires to the Ceiling
Connect each suspension wire to its corresponding ceiling fixing point.
Keep the wires properly aligned and avoid sharp bends or unnecessary kinks.
For a multi-wire installation, gradually adjust each wire so that the fixture rises evenly.
7. Adjust the Height
Once all suspension points are connected, adjust the wire grippers to achieve the required height.
Use a measuring tape to maintain a consistent distance from the ceiling.
For larger fixtures, adjust the suspension points gradually rather than pulling one wire significantly higher than the others.
This helps keep the fixture level and distributes the load more evenly.
8. Check the Fixture Level
Use a spirit level or visual reference to check that the light is straight and level.
If one side is lower than the other, make small adjustments using the wire grippers until the fixture is properly aligned.
A level fixture not only looks better but can also help ensure that the suspension system is supporting the fixture correctly.
9. Complete the Electrical Connection Separately
The suspension wire should be used for mechanical support unless the specific product is expressly designed and certified for another purpose.
The electrical cable should be routed and connected using appropriate electrical components.
Before making or modifying electrical connections, switch off the relevant power supply and follow applicable electrical safety requirements. Where required, electrical work should be carried out by a qualified electrician.
Keep electrical cables properly supported and prevent them from placing unnecessary strain on the light's electrical terminals.
10. Perform a Final Safety Check
Before putting the light into normal operation, inspect the complete installation.
Check:
- Ceiling anchors are firmly installed.
- Suspension wires are properly secured.
- Wire grippers are correctly locked.
- The fixture is stable and level.
- No wire is visibly damaged or excessively bent.
- Electrical cables are properly connected and supported.
- No component is carrying a load beyond its specified capacity.
- The light does not move excessively when gently checked.
Only after completing the necessary checks should the installation be put into service.
Important Safety Tips for Suspension Wire Installation
Never Exceed the Rated Load
Always consider the weight of the lighting fixture and the load rating of the suspension components and ceiling fixing system.
The weakest component in the installation can determine the overall safety of the system.
Use the Correct Ceiling Fixing
Different ceilings require different fixing methods. A fixing suitable for one ceiling type may not be suitable for another.
Select anchors, hooks, screws, or other hardware based on the actual ceiling structure and expected load.
Do Not Use Damaged Wire
Do not install suspension wire that is frayed, kinked, severely bent, corroded, or otherwise damaged.
Replace damaged components rather than attempting to repair them.
Keep the Fixture Balanced
When using multiple suspension points, distribute them appropriately so the light remains level and stable.
Uneven suspension can place additional stress on individual wires and fixing points.
Do Not Use Suspension Wire as Electrical Cable
A suspension wire is generally intended to provide mechanical support. It should not be used as an electrical conductor unless the particular product is specifically designed and certified for that purpose.
Keep mechanical suspension and electrical wiring properly separated.
Check the Installation Periodically
For commercial, retail, office, or other frequently used spaces, periodically inspect the suspension system.
Look for signs of loose fittings, corrosion, damaged wires, movement, or deterioration of ceiling fixing points.
Common Suspension Wire Installation Mistakes
Several simple mistakes can affect the safety and appearance of a suspended lighting installation.
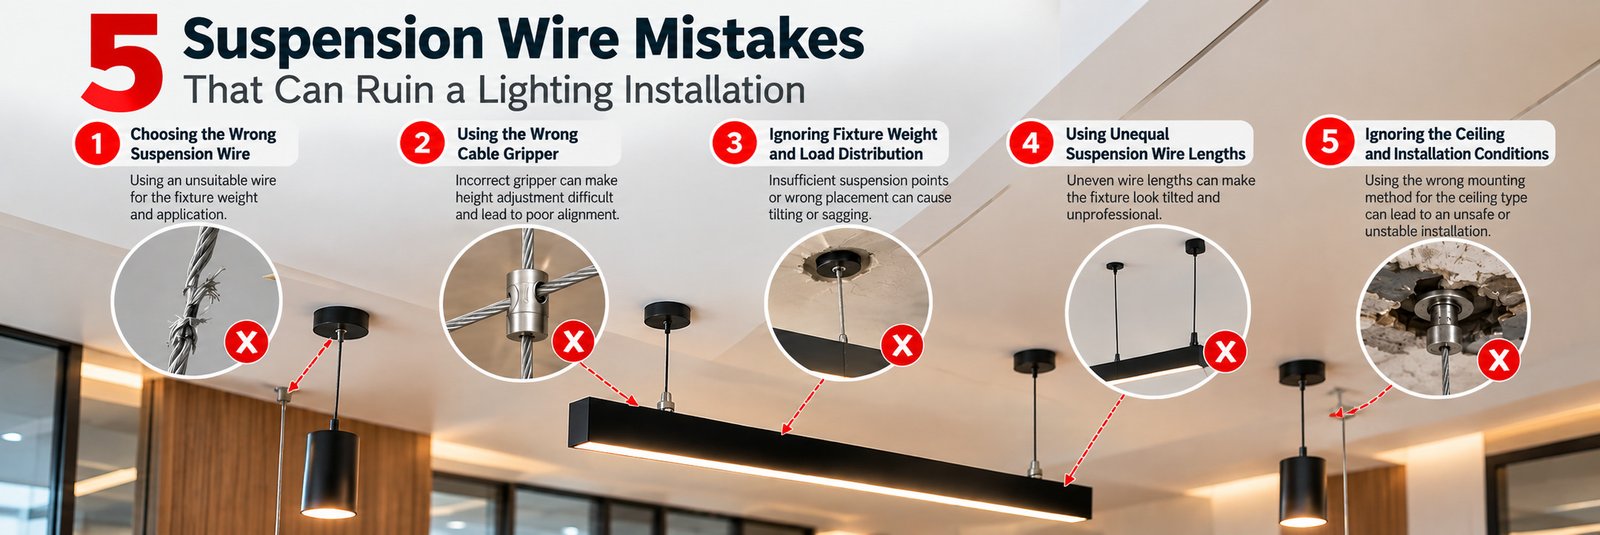
Using an unsuitable ceiling anchor: A strong suspension wire cannot compensate for an unsuitable ceiling fixing.
Installing without checking the fixture weight: Always consider the complete fixture weight and the capacity of the suspension system.
Uneven wire adjustment: If wires are adjusted unevenly, the fixture may hang at an angle.
Ignoring damaged components: Damaged wires or grippers should be replaced before installation.
Allowing electrical cables to support the fixture: Electrical cables should not be used as a substitute for mechanical suspension support.
Skipping the final inspection: Always check every fixing point and gripper before completing the installation.
How to Choose the Right Suspension Wire Kit
When selecting a suspension kit, consider the type and weight of the lighting fixture, number of suspension points, required hanging height, ceiling structure, adjustment requirements, and installation environment.
For professional lighting installations, choose a suspension system with suitable wire, grippers, hooks, and fixing components for the intended application.
A good-quality suspension system should provide secure attachment, easy height adjustment, and a clean finished appearance.
Final Safety Checklist
Before completing your lighting installation, check:
☐ Correct suspension kit selected ☐ Fixture weight checked ☐ Suitable ceiling fixing used ☐ Suspension wires properly attached ☐ Wire grippers securely locked ☐ Fixture correctly balanced ☐ Fixture is level ☐ No damaged suspension components ☐ Electrical connection completed safely ☐ Final inspection completed
Conclusion
Installing a light with a suspension wire kit can provide a clean, adjustable, and professional lighting solution for homes, offices, retail spaces, commercial interiors, and other applications.
The key to a safe installation is using suitable components, securing the ceiling fixing correctly, distributing the fixture's weight properly, adjusting the suspension wires evenly, and keeping electrical connections separate from the mechanical suspension system.
For professional lighting installations, always follow the instructions supplied with the lighting fixture and suspension hardware, and use qualified personnel where electrical or structural work requires specialist knowledge.